Hello there !
Today I will show you a project I created for my next workshop in Houston (BTW contact me if you interested in attending one with me). It's an altered pumpkin, with the rich colors of Fall, purple and gold :

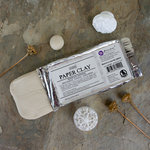
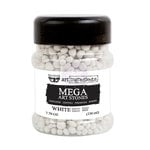
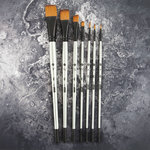
The base is a plastic pumpkin, half-covered with lace. I added lot of embellishments created with moulds and paper clay.I have two tricks to work fast with clay. You cannot let the clay dry in the mould or the clay will be too rigid to be added to the pumpkin. What you can do is add starch into the mould with a brush, put your clay into the mould and place it in the freezer for 10mn... It will be so much easier to remove the shapes ! You can glue the clay embellishments right away with a fast glue like Zip Dry or Tacky glue with the help of a heat gun. I also glued some Prima Art stones to add more dimensions.

In these close-ups, you can see that I used the Large Fleurish and the Medallion mould (for a large selection of Prima mould, you can click here). I also use the Baroque 6 mould to create the stalk of the pumpkin.
Once everything was dried, I covered all with white gesso, and then with purple paint.

The last part was to add light touches of Finnabair's Spark Fairy Wings paint (it's a green gold) on the embellishments and lighter touches on the lace.
The purple looks deeper depending of the light...

This pumpkin will be a great add to your Halloween or Fall decorations, so jump in and create one ! Or better ask me to join this class...
Thank you for your time, I hope you enjoy this project ! See you soon !
P.S. here are some affiliate links to products I used in this project :


Love this! The detail is amazing!
ReplyDeleteThank you Kimberle ! I'm so detail oriented...
Delete